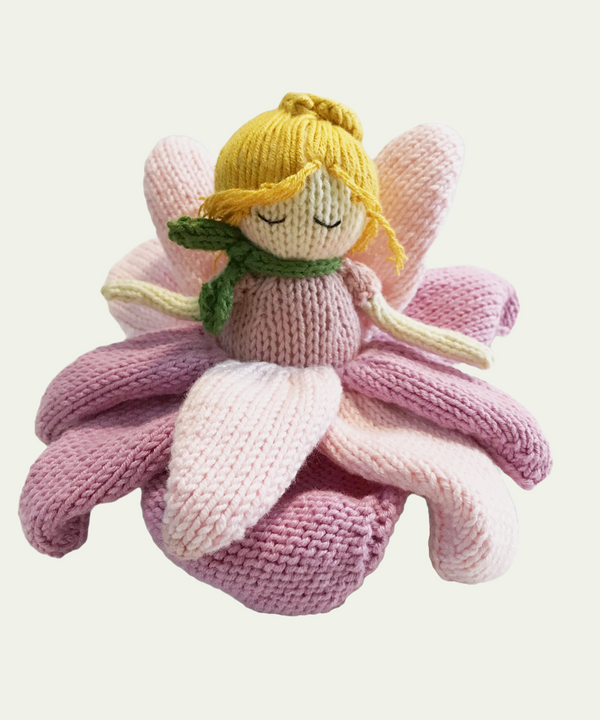
Embroidering doll eyes involves a few steps to create expressive and durable eyes. Here's a basic guide:
-
Selecting Thread: Choose embroidery floss in the desired eye color. Black or dark brown is common for a natural look, but you can use any color.
-
Needle and Preparation: Use a sharp embroidery needle. Thread it with the embroidery floss, and knot the end.
-
Marking the Eye Position: Marking the Eye Position: Determine where the eyes should be placed on the doll's face. In our patterns, we recommend using stitch markers to indicate these positions.
-
Creating the Outline: Start by embroidering the outline of the eye. This can be a simple circle or oval shape. Insert the needle from the back of the fabric to the marked point and create a small stitch to form part of the outline. Continue with small, even stitches to complete the shape.
-
Filling in the Eye: Once the outline is complete, fill in the shape with satin stitches. These are tight, parallel stitches that cover the entire area inside the outline. Begin at one side of the outline and work your way to the other side.
-
Adding Details: For more detailed eyes, embroider a small white dot to represent the light reflection in the eye. You can also add eyelashes with small, thin stitches extending from the upper part of the eye.
-
Securing the Thread: Once the eye is complete, push the needle to the back of the fabric, tie a knot, and cut off any excess thread.
-
Repeating for the Second Eye: Follow the same steps to create the second eye, ensuring it is symmetrical to the first.
Remember, the style and size of the eyes can vary greatly depending on the type of doll and the desired expression. Practice and patience are key to mastering this skill.
